Before You Begin
- Create your account at app.cline.bot for access to multiple AI models, seamless setup without managing API keys, and occasional free inferencing.
- Choose your platform: VS Code, Cursor, JetBrains IDEs, CLI (macOS/Linux preview), VSCodium, or Windsurf.
Installation Instructions
- VS Code/Cursor
- JetBrains IDEs
- CLI
- VSCodium/Windsurf
1
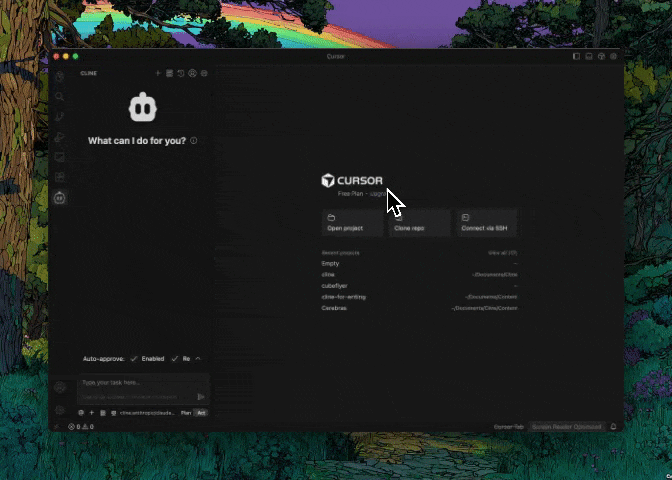
Open VS Code or Cursor
Launch the editor on your computer.
2
Open Extensions
Press
Ctrl/Cmd + Shift + X or click the Extensions icon in the Activity Bar.3
Search for Cline
Type “Cline” in the search bar.
4
Install
Click the Install button on the Cline extension.
5
Access Cline
Click the Cline icon in the Activity Bar, or open Command Palette (
Ctrl/Cmd + Shift + P) and type “Cline: Open In New Tab”.Sign In & Start Building
CLI users: If you installed via CLI, you already authenticated during setup with
cline auth. You’re ready to go!-
Open Cline in your editor:
- VS Code/Cursor/VSCodium/Windsurf: Click the Cline icon in the Activity Bar
- JetBrains: Go to View → Tool Windows → Cline
- Sign in by clicking the Sign Up button in the Cline interface. You’ll be redirected to app.cline.bot to authenticate.
- Start building! After signing in, you’ll automatically return to your editor—Cline is ready to help.
Setting Up Cline in the Right Sidebar
For the best coding experience, we recommend moving Cline to the right sidebar. This keeps your project files visible on the left while you chat with Cline on the right, giving you full visibility of your codebase as Cline works.- VS Code
- Cursor
1
Align Extension View
Make sure your extension view is aligned vertically to the left.
2
Open Right Side View
Click the button that opens the right side panel (typically used for GitHub Copilot chat), or use
Option + Cmd/Ctrl + B.3
Drag Cline Icon
Drag the Cline icon over to the nav panel at the top of that right view.
Troubleshooting
Can’t Find Cline in the Marketplace
Sometimes Cline doesn’t show up in search results if you’re looking in the wrong tab or using an incompatible IDE version. Make sure you’re searching in the Marketplace tab (not Installed), try searching for “Cline AI” instead, and verify your IDE is up to date. If installation fails, restart your IDE and check your internet connection.Cline Icon Not Appearing After Install
The most common fix is a full restart—close your IDE completely (File → Exit) and reopen it. In VS Code/Cursor/VSCodium, you can also open the Command Palette (Ctrl/Cmd + Shift + P) and type “Cline: Open In New Tab”. In JetBrains, check View → Tool Windows → Cline. If it’s still missing, verify the plugin is enabled in your Extensions/Plugins settings.
CLI: Node.js or Permission Errors
Cline CLI requires Node.js 20 or higher. Runnode --version to check—if you need to upgrade, use nvm (nvm install 22 && nvm use 22) or download from nodejs.org. For permission errors on npm install -g, either prefix with sudo on macOS/Linux or configure npm to use a user-owned directory for global packages.
Plugin Installed But Not Working
If Cline appears installed but doesn’t respond, try disabling and re-enabling the extension in your IDE’s settings. Check the Developer Console (VS Code: Help → Toggle Developer Tools) or Event Log (JetBrains) for error messages. Also ensure you’re using a supported IDE version and close any resource-intensive extensions that might interfere.Need Help?
- Join our Discord community for support, tips, and discussions.
- Read the docs to explore model selection guides and advanced features.